How to Repair Aluminum Siding
Aluminum siding is a popular choice for many homeowners. It’s durable, lightweight, and resistant to pests and fire. However, over time, it can suffer from dents, holes, and corrosion. This overview explains how to repair aluminum siding on a house and offers practical siding damage solutions.
Repairing aluminum siding might seem daunting, but it’s manageable with the right guidance. Whether you’re dealing with small holes or larger damage, knowing the correct steps is crucial. With clear steps, you’ll see how to repair aluminum siding and fix aluminum siding issues efficiently.
This guide will walk you through essential tips for aluminum siding repair. You’ll learn how to repair holes in aluminum siding, restore its appearance, and maintain it for years.
From DIY enthusiasts to RV owners, this article is for anyone looking to tackle siding repairs, including DIY siding repair techniques and how to repair aluminum RV siding. Let’s dive into the world of aluminum siding repair and keep your home looking its best.
Understanding Aluminum Siding and Common Issues
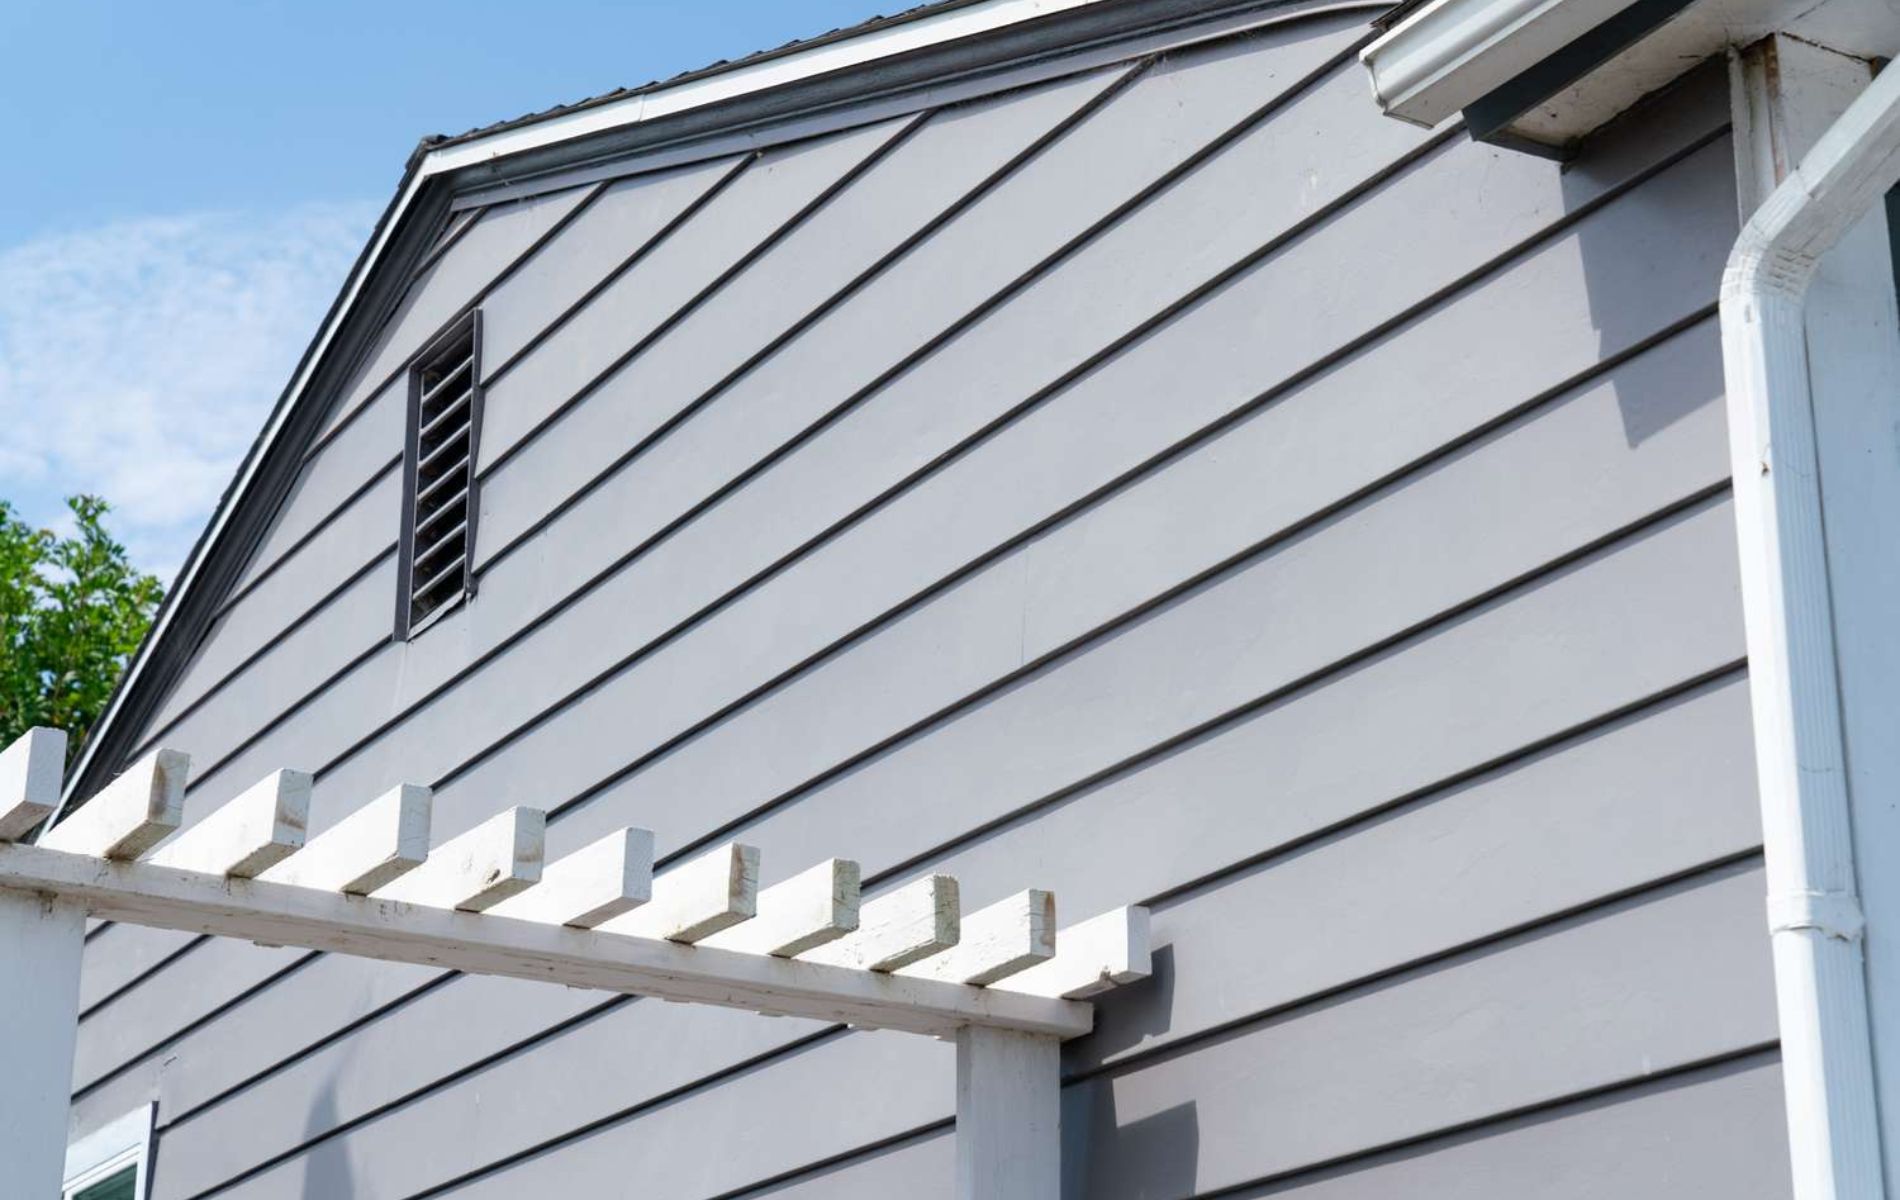
Aluminum siding became popular due to its many benefits. It’s cost-effective, recyclable, and easy to install. Unlike vinyl, aluminum provides great insulation and is fire-resistant. However, it does have its share of common problems.
Over time, you might notice small dents, scratches, or holes. These can result from weather conditions or impacts. Moisture can also lead to rust and corrosion if not properly maintained. Routine inspections can help catch these issues early before they worsen. These basics help you plan effective siding damage solutions.
Common issues with aluminum siding include:
- Dents from hail or debris
- Holes caused by impacts
- Corrosion from moisture exposure
- Faded or chipped paint
Regular maintenance can keep your siding looking great. Simple tasks like cleaning and inspections make a big difference. Identifying issues before they become severe will save time and money.
Tools and Materials Needed for Aluminum Siding Repair
Repairing aluminum siding requires the right tools and materials. Without them, even simple tasks can become frustrating. Start by gathering everything you need before beginning any repair work.
A comprehensive list includes basic tools and specialized items. These will ensure your repair efforts are efficient and effective. Having the right materials on hand reduces interruptions and enhances the quality of the finished work.
Essential Tools and Materials:
- Epoxy filler for holes
- Patch kit
- Wire brush
- Sandpaper
- Putty knife
- Primer and matching paint
- Caulk for sealing
- Safety gear: gloves, goggles
Make sure to use high-quality materials to achieve the best results. Proper tools not only simplify the process but also contribute to a long-lasting repair.

Preparing for Repair: Cleaning and Inspection
Before repairing aluminum siding, a thorough cleaning and inspection are essential. Dirt and grime can hinder the adhesion of repair materials, leading to unsatisfactory results. Begin by washing the siding with mild soap and water, using a soft sponge to avoid scratches.
Inspection is the next crucial step. Examine the siding carefully for any signs of damage or wear. Look for dents, holes, and corrosion that need addressing during repair. Identifying all issues upfront prevents missed repairs and ensures comprehensive results.
Cleaning and Inspection Steps:
- Wash with mild soap and water
- Use a soft sponge or cloth
- Inspect for visible damage
- Check for loose nails
- Look for signs of rust
Performing these steps prepares the surface for repair and enhances the effectiveness of subsequent procedures.

How to Repair Holes in Aluminum Siding
Repairing holes in aluminum siding can appear daunting, but it’s manageable with the right approach. If you need to know how to repair a hole in aluminum siding, begin by assessing the size of the hole to determine the appropriate method. For small holes, using an epoxy filler is effective and straightforward.
First, clean the area around the hole, removing any debris or loose material. Then, use a wire brush to eliminate any rust. This step ensures a clean surface for the filler to adhere.
Steps to Repair Small Holes:
- Clean the surrounding area.
- Remove rust with a wire brush.
- Sand for a smooth finish.
- Apply epoxy filler evenly.
- Allow sufficient drying time.
For larger holes, replacing a section of siding may be necessary. Measure and cut a piece to fit the damaged area, ensuring it’s aligned properly. Apply caulk around the edges to seal it effectively.
Matching paint is crucial for a seamless look. Once the filler is dry, prime the area and apply a matching exterior paint. This final step restores the siding’s appearance and protects it from future damage.
Fixing Dents and Surface Damage
Aluminum siding is prone to dents, especially when hit by objects or during storms. Luckily, you can often fix these dents without replacing the siding. The process involves careful manipulation to return the siding to its original form.
Start by assessing the dent to determine its depth and size. For small dents, you might be able to pop them out with a rubber mallet. First, gently tap around the dent’s perimeter to minimize the damage. Avoid hitting too hard to prevent further deformation.
Tools for Fixing Dents:
- Rubber mallet
- A block of wood
- Sandpaper
- Filler material (for deep dents)
For deeper dents, sand the area lightly and apply a suitable filler. Once the filler dries, sand it smooth and apply a coat of paint to match the siding. This method covers the dent and enhances your home’s aesthetic. These steps help restore aluminum siding to a smooth, consistent finish.

Replacing Damaged Aluminum Siding Sections
Occasionally, damage to aluminum siding is too extensive for simple repairs. When sections are beyond repair, replacement is necessary. This ensures both functionality and visual appeal are maintained.
Begin by identifying the damaged section that needs removal. You’ll need to carefully pry it away using a siding removal tool, taking care not to damage adjacent panels. Ensure to remove any nails and the undamaged siding is left intact.
Materials for Replacing Sections:
- Replacement aluminum siding
- Pry bar or siding removal tool
- Nails or screws
- Caulk
Once the old section is removed, fit the new panel in place, ensuring it aligns with the existing siding. Secure it using nails or screws. For a seamless finish, apply caulk around the edges to prevent water infiltration, which could cause future issues.
Replacing siding sections can seem daunting, but patience and the right tools make it manageable. Regular checks help prevent the need for frequent replacements.

Repairing Aluminum Siding Corners
Corners are vulnerable points on aluminum siding. Damage here can lead to structural concerns if not addressed. Often, corner damage arises from weather impacts or accidental bumps.
For repairing corners, it’s effective to use corner caps. These caps cover and protect the area from further damage. Replacing damaged sections is another reliable method to maintain a clean look. If you’re wondering how to repair aluminum siding corner damage, corner caps and careful section replacement are dependable options.
Steps to Repair Aluminum Siding Corners:
- Assess the corner damage.
- Choose a replacement method or corner cap.
- Install securely, ensuring it integrates with existing siding.
Repairing corners is vital for maintaining siding integrity. Protect corners to ensure the overall strength of your siding structure.
How to Restore Aluminum Siding Appearance
Aluminum siding can lose its shine over time. Sun, rain, and pollutants can cause fading and dullness. To restore aluminum siding, start with a thorough cleaning and consider repainting if needed.
Repainting can breathe new life into old siding. Choose a high-quality exterior paint designed for metal. Ensure the color matches existing siding for a uniform look.
Steps to Restore Aluminum Siding:
- Wash with mild soap and water.
- Sand any rough spots or peeling paint.
- Apply primer before painting for best results.
This process not only enhances appearance but also extends siding life. Regular maintenance keeps your siding looking fresh and vibrant.

Special Considerations: Aluminum Siding Repair on RVs
Repairing aluminum siding on RVs involves extra steps compared to house siding. The mobility and unique shape of RVs demand precise techniques. It’s crucial to address repairs swiftly to maintain the RV’s integrity and appearance. Many owners search for how to repair aluminum siding on RV or how to repair aluminum rv siding; the core approach is similar, with added attention to weight and sealing.
RV aluminum siding often faces different stressors. Road debris, frequent travel, and extreme weather contribute to damage. Therefore, specialized tools may be necessary for effective repair.
Key Considerations for RV Repair:
- Ensure the RV is stable and level before starting.
- Use lightweight materials to avoid adding excess weight.
- Inspect seals and seams thoroughly to prevent leaks.
With the proper approach, you can preserve the aesthetics and functionality of your RV. Regular inspection can catch issues early and make repairs easier.
Sealing, Painting, and Finishing Touches
Sealing your aluminum siding is a crucial step in the repair process. Properly sealed seams prevent water infiltration. You can use a high-quality exterior caulk to seal any gaps or cracks. Make sure to smooth the caulk for a clean finish.
Once sealing is complete, it’s time to paint. Use a metal primer to prepare the surface. Choose a high-quality exterior paint designed for metal. Matching the existing color ensures a seamless look.
Final Steps:
- Allow paint to dry completely before exposure to weather.
- Apply a clear coat for additional protection.
- Inspect the finished work for any missed spots.
These steps will help your siding look new and prolong its lifespan. Finishing touches are what make a repair truly complete.
Maintenance Tips and Preventing Future Damage
Regular maintenance is key to extending the life of your aluminum siding. Simple practices can prevent significant damage over time. Keep your siding clean to avoid dirt buildup, which can lead to corrosion.
Tips for Preventing Damage:
- Inspect for loose or missing nails regularly.
- Clean the siding with mild soap and water.
- Seal any gaps or cracks promptly.
Routine inspections can catch problems early, saving you from costly repairs. By being proactive, you ensure your siding remains in excellent condition.
When to Call a Professional for Aluminum Siding Repair
Sometimes, siding damage is beyond a simple DIY fix. Large holes or extensive corrosion might require professional expertise. If you’re unsure about your repair skills, it’s safer to call an expert.
Hiring a professional can ensure high-quality and seamless results. It’s a good investment for long-lasting durability and peace of mind.
Conclusion: Keeping Your Aluminum Siding in Top Shape
Maintaining aluminum siding is not just about fixing damage. It’s about ensuring long-term protection and appeal. Regular cleaning and timely repairs play a crucial role.
Whether you handle DIY siding repair or call in a professional, the goal remains the same. Keeping your aluminum siding in excellent condition will enhance your home’s value and curb appeal.
Q&A
Question: How do I decide whether to fill a hole or replace a section of aluminum siding?
Short answer: Base it on the hole’s size. Small holes are typically repaired with epoxy filler after you clean the area, remove any rust with a wire brush, and sand for adhesion. Once the filler cures, prime and paint to match. Larger holes usually call for replacing a section: measure and cut a piece that fits, align it with the existing profile, secure it with nails or screws, seal the edges with exterior caulk, then prime and paint for a seamless finish.
Question: What prep should I do before any aluminum siding repair?
Short answer: Clean first, inspect second. Wash the siding with mild soap and water using a soft sponge or cloth to avoid scratches. Then inspect for dents, holes, corrosion, loose or missing nails, and any signs of rust. Remove rust with a wire brush and lightly sand repair areas to promote adhesion. Proper prep ensures repairs bond well and last.
Question: What’s the best way to fix dents without replacing panels?
Short answer: For small dents, gently work them out with a rubber mallet, tapping around the dent’s perimeter and using a block of wood as a backer to avoid further deformation—don’t hit hard. For deeper dents, lightly sand, apply a suitable filler, let it dry, sand smooth, and finish with primer and matching exterior paint to blend the repair.
Question: What’s different about repairing aluminum siding on an RV?
Short answer: The core methods are similar, but RVs need extra care. Ensure the RV is stable and level before you start, use lightweight materials to avoid adding excess weight, and pay close attention to seals and seams to prevent leaks. Because RVs face road debris and weather extremes, inspect often and address issues promptly.
Question: When should I call a professional for aluminum siding repair?
Short answer: If you’re dealing with large holes, extensive corrosion, or damage spanning multiple sections—or if you’re unsure about your skill level—bring in a pro. Professional repairs deliver seamless results and can be a smart investment in long-term durability and peace of mind.